Buying a second-hand laptop is one of the easiest ways to get serious performance without paying brand-new prices. Because tech loses value so quickly, a one- or two-year-old machine can cost half the original price while still being perfectly capable for everyday use, work, or even gaming.
However, the used market also poses risks, including hidden faults, fake listings, stolen devices, and machines that fail within a month of purchase. To avoid that, you need a clear checklist instead of just “going with your gut.”
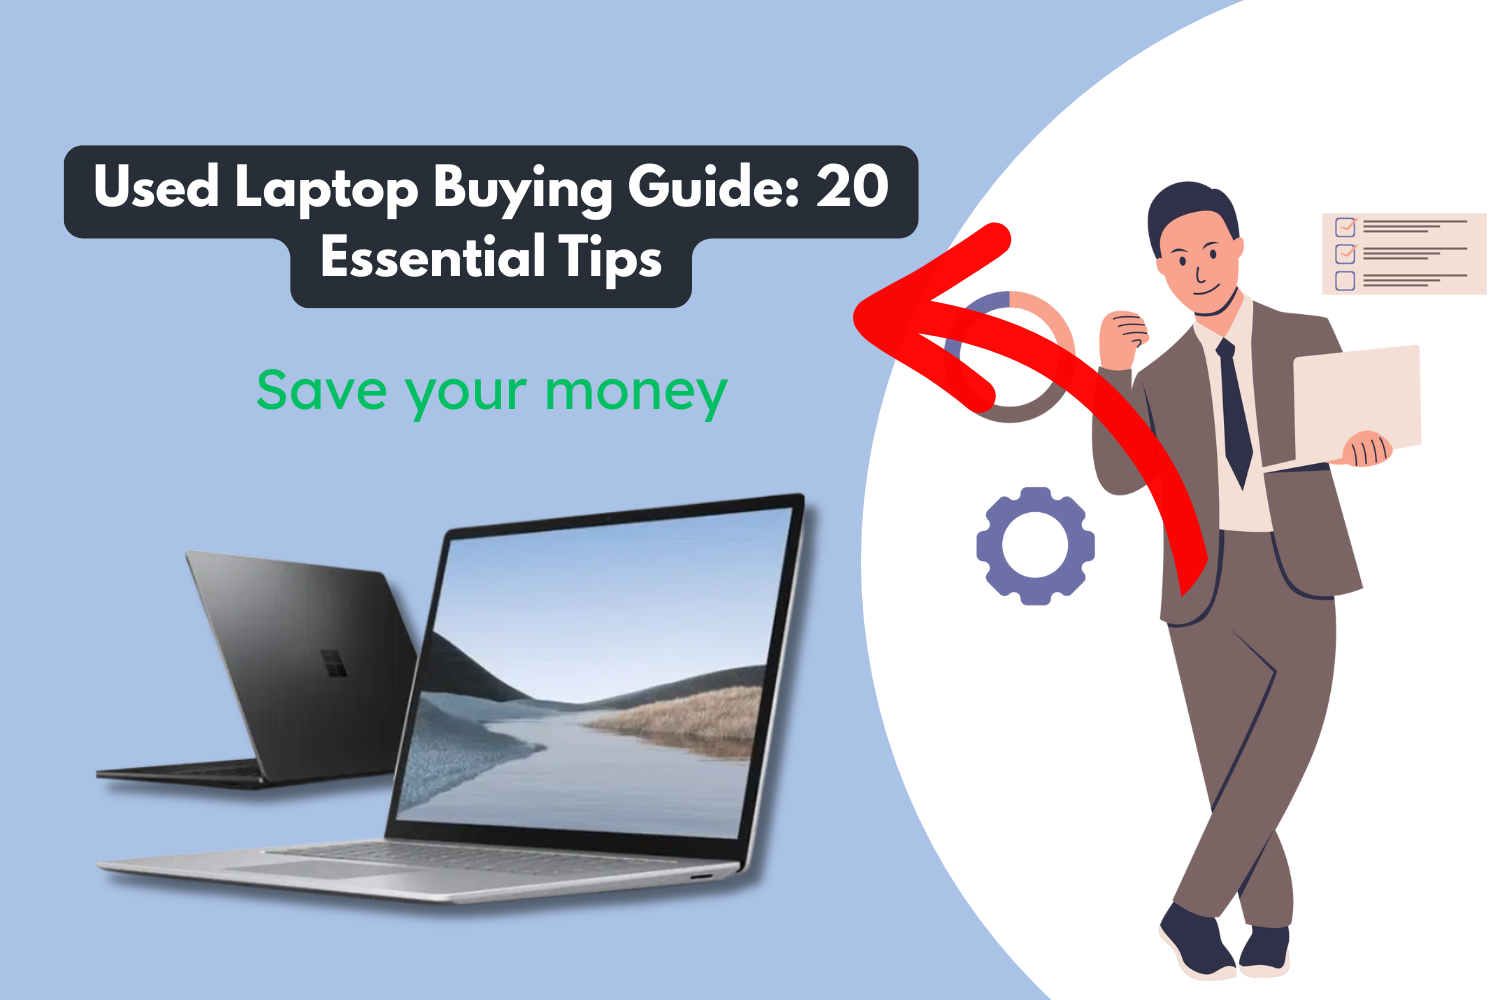
Use this 20-step handbook as your step-by-step guide—from planning and research to testing, negotiation, and paperwork—so you end up with a laptop that’s fast, reliable, and worth every taka/dollar you spend.
Phase 1: Plan, Research, and Set a Real Budget
1. Clarify Your Main Tasks and Performance Needs
Don’t start by asking “what’s the cheapest laptop?” Start with what you’ll do:
- Basic use (browsing, docs, online classes)
- CPU: Intel Core i3 / Ryzen 3 or similar
- RAM: 8 GB
- Storage: 256 GB SSD
- Multitasking / light gaming/office + some editing
- CPU: Core i5 / Ryzen 5
- RAM: 16 GB
- Storage: 512 GB SSD
- Heavy tasks (video editing, 3D, serious gaming)
- CPU: Core i7 / Ryzen 7
- RAM: 32 GB
- Storage: 512 GB+ SSD
- GPU: Dedicated NVIDIA / AMD
Once you know your minimum specs, you can ignore tempting but weak laptops—and avoid wasting money on overkill hardware you’ll never use.
2. Decide Your Budget and Price Range
Next, set a budget based on the specs you actually need, not just the first ones you see.
- Check real prices from:
- Sold/completed listings on marketplaces
- Local classifieds history
- Refurbisher sites for your region
Set:
- Target price (what you’d like to pay)
- Hard maximum (you will not go above this)
- +10% buffer for extras like a new charger, laptop bag, or minor repairs
Avoid getting emotionally attached to a specific model if it consistently exceeds your budget. There’s almost always a similar alternative.
3. Pick the Safest Seller Type for You
Your risk level depends heavily on who you buy from:
- Certified refurbishers/shops
- Pros: Warranty (e.g., 30–90 days), receipts, tested hardware
- Cons: Highest price
- Online marketplaces (eBay, Amazon Renewed, etc.)
- Pros: Buyer protection, ratings, easy returns (sometimes)
- Cons: Need to check reviews, read descriptions carefully
- Private sellers (Facebook Marketplace, OLX, local groups)
- Pros: Cheapest prices, more room to negotiate
- Cons: “As-is” deals, no warranty, more risk of scams
Choose based on how comfortable you are with testing the device yourself and handling possible repairs.
4. Research Model History and Typical Issues
Before committing to a model, search “[model name] common problems”.
Look for patterns like:
- Weak hinges or cracked palm rests
- Flexgate or display cable issues
- Faulty keyboard designs (e.g., infamous butterfly keyboards)
- Overheating or throttling due to poor cooling
Make a mini checklist of that model’s known problems so you can specifically test those during inspection.
Phase 2: Inspect the Body and Overall Condition
5. Inspect Chassis, Edges, and Screen Hinges
Cosmetic scratches are okay. Structural damage is not.
Check:
- Chassis: Deep dents, cracks near ports, bent corners
- Hinges: Open and close the lid several times
- Should move smoothly
- No cracking sounds
- The screen should stay where you position it
Also check:
- Rubber feet: Missing feet suggest rough use and can cause overheating on flat surfaces.
If the frame is severely damaged, internal components may also have been compromised or damaged.
6. Confirm Specs With System Information Tools
Never rely only on stickers or the ad description.
- Windows:
- Right-click This PC > Properties for CPU & RAM
- Or check Task Manager > Performance
- macOS:
- Click the Apple logo > About This Mac
Confirm:
- Correct CPU model (e.g., i5 vs i7)
- RAM size
- Storage size and type (SSD vs HDD)
If what you see on screen doesn’t match what was promised, walk away or renegotiate—if they lied about specs, what else is hidden?
7. Examine the Display for Flaws and Dead Pixels
Screens are expensive to replace, so test carefully:
- Open full-screen white, black, red, green, and blue screens
- Look for dead pixels (always black)
- Look for stuck pixels (always one color)
- Check for:
- Uneven backlight (lighter or darker patches)
- Flicker at different brightness levels
- Pressure marks or weird spots when gently flexing the lid
Minor issues can be a negotiation point. Major display issues can lead to substantial repair costs.
8. Test Every Key, Trackpad, and Touchscreen
Open a simple text editor and:
- Press every single key, including function keys, arrow keys, and modifiers (Ctrl, Alt, Shift, etc.)
- Check for:
- Keys that don’t respond
- Keys that repeat press on their own
- Sticky keys that don’t spring back
Then verify:
- Trackpad:
- Move slowly and quickly across the screen
- Test left/right click and multi-touch gestures
- Touchscreen (if present):
- Slide your finger across all areas
- Make sure taps register accurately
A faulty keyboard or trackpad can significantly compromise the user experience, even on a powerful laptop.
9. Review Battery Health, Cycles, and Capacity
Batteries wear out faster than almost anything else.
- macOS:
- > About This Mac > System Report > Power
- Check cycle count and condition (Normal, Service, etc.)
- Windows:
- Open Command Prompt as admin
- Run: powercfg /batteryreport
- Open the generated HTML report
- Compare Design Capacity vs Full Charge Capacity
If current capacity is under ~80% of design capacity, assume you’ll need a new battery soon and factor that cost into your offer.
Phase 3: Deep Hardware and Connectivity Checks
10. Test Every Port: USB, HDMI, Audio, Ethernet
Bring a small testing kit:
- USB flash drive
- Headphones
- HDMI cable
- (Optional) Ethernet cable
Test:
- USB ports: Plug your drive into each one; transfer a file
- HDMI / DisplayPort: Connect to a monitor/TV; check video and audio
- Audio jack: Play music with headphones; lightly wiggle the plug to see if the sound cuts out
- Ethernet: If available, see if it connects properly
A single dead port might be okay with a discount. Multiple dead ports = walk away.
11. Check That the Power Adapter Is Genuine
The charger isn’t just an accessory—it’s part of the power system.
Look for:
- Branding & label: Correct logo, model number, and safety markings
- Wattage: Must match or exceed the laptop’s required wattage
Cheap or fake chargers can cause:
- Slow charging or no charging under load
- Overheating
- Long-term damage to the motherboard or battery
If the adapter appears suspicious, budget for a genuine replacement.
12. Listen for Overheating, Fan Noise, and Throttling
Put the laptop under light stress:
- Open many browser tabs
- Stream HD/4K video
- Or use a simple CPU stress test (if the seller agrees)
Then check:
- Fans:
- Should spin smoothly
- No grinding, rattling, or buzzing
- Temperature:
- The laptop will get warm—this is normal
- It shouldn’t become burning hot or shut down
Excessive heat or screaming fans may indicate dust-clogged vents, a poor cooling design, or a dried-out thermal paste.
13. Check Drive Health and Storage Responsiveness
If allowed, use a drive health tool:
- Windows: Tools like CrystalDiskInfo (portable versions exist)
- Look at SMART health status
- Check if any attributes are marked “bad” or “caution”
If you can’t install tools, at least:
- Copy a large file
- Observe if the system feels slow, freezes, or clicks (HDD)
An SSD/HDD near failure is a ticking time bomb. Either negotiate a significant discount or skip it.
14. Verify Wi-Fi Strength and Bluetooth Stability
Connect to Wi-Fi and test:
- Open multiple sites
- Move a bit farther from the router if possible
- Compare signal bars to your phone’s Wi-Fi in the same spot
Then check Bluetooth:
- Pair with a phone, speaker, or headset
- Send a file or play audio
- Disconnect and reconnect a few times
Frequent drops or very weak Wi-Fi can indicate a damaged antenna or internal board issue.
Phase 4: Software, Licenses, and Security
15. Confirm the OS License Is Genuine and Active
You want a legal, activated system, not a cracked OS.
- Windows:
- Go to Settings > System > Activation
- Ensure it displays “Windows is activated.”
- macOS:
- Updates and App Store should work normally
- No “this copy of macOS is invalid” type messages
A non-genuine OS can cause update issues, security risks, and random deactivation.
16. Look for BIOS Locks and Enterprise Security Tools
Many ex-corporate laptops come with tracking or security software.
- Restart and enter BIOS/UEFI (usually F2, F10, Del, etc.)
- Check for:
- BIOS password
- Tools like Computrace/Absolute, or other asset tracking
If it’s:
- Locked with an unknown BIOS password, or
- Still enrolled in some management system
…then you risk the device being remotely locked later. Only proceed if the seller can entirely remove those protections.
17. Ask for a Clean Install or Factory Reset
For your own privacy and security, the laptop should be wiped.
- Ask the seller to:
- Perform a factory reset, or
- Do a fresh OS installation while you’re there or before payment
For macOS:
- Make sure Find My is turned off
- Ensure the device is removed from the previous owner’s Apple ID / iCloud
- Otherwise, Activation Lock can brick the device later
Never accept a device that’s still tied to someone else’s account.
Phase 5: Negotiate, Pay, and Protect Yourself
18. Use Wear and Tear to Negotiate the Price
Everything you find becomes bargaining power:
- Minor flaws (scratches, worn keys, 80% battery capacity):
- Ask for roughly 10–15% off
- Major issues (failing drive, noisy fan, cracked screen, dead pixels):
- Subtract the realistic repair cost + a bit extra for your trouble
If the seller refuses any reasonable adjustment for obvious problems, that’s a red flag.
19. Confirm Warranty or Short Test-Return Window
Ask clearly:
- Shop/refurbisher:
- What’s the warranty length?
- What’s covered (hardware only? battery? charger?)
- Private seller:
- Will they allow 24–48 hours for you to test at home fully?
Even an informal “if something is seriously wrong, bring it back tomorrow” shows good faith.
20. Collect Receipt, Charger, and All Accessories
Before handing over money, make sure you get:
- Written receipt (even handwritten is fine):
- Date
- Amount paid
- Laptop model and serial number
- Names/signatures of both parties
- Original charger (or at least a proper brand-name one)
- Any extras: box, manuals, recovery media, extra RAM, spare battery, etc.
A receipt helps prove ownership and can be helpful for future resale or if questions ever arise about the laptop’s origin.
Final Thoughts
Buying used is a smart move—cheaper, more eco-friendly, and often just as decisive as buying brand new. However, it only works in your favor if you approach the process with care, rather than making an impulse buy.
Use this 20-step checklist:
- Plan your needs and budget
- Research the exact model
- Inspect the body, screen, and keyboard
- Test ports, battery, cooling, and connectivity
- Confirm licenses, security status, and ownership
- Negotiate using facts, not feelings
Do that, and you’ll walk away with a second-hand laptop that feels like a wise investment—not a costly mistake. Happy hunting!